
Introduction
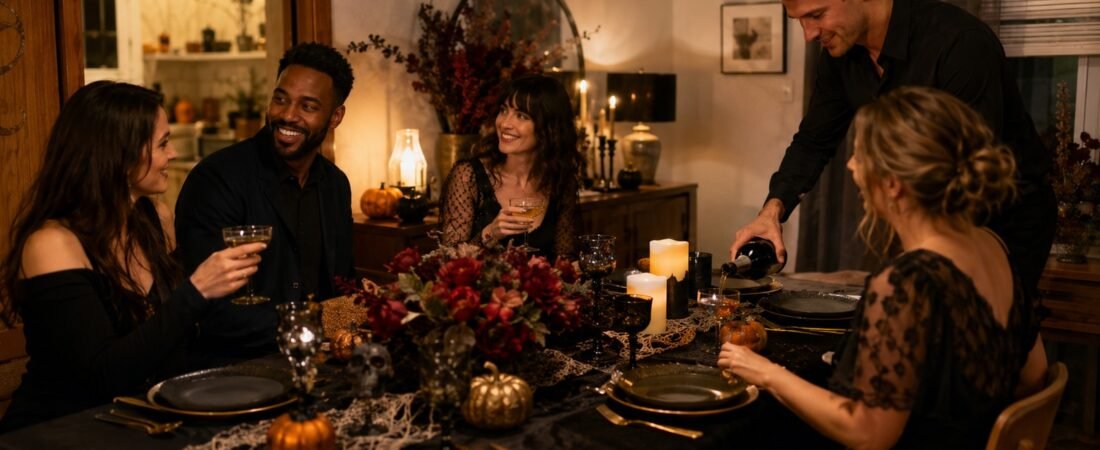
An adult Halloween party can feel atmospheric without turning your home into a movie set. The most memorable rooms usually rely on a clear point of view: a limited color palette, flattering light, a few tactile materials, and one or two scenes that guests notice immediately. That restraint is what separates spooky-chic style from a collection of unrelated seasonal decorations.
The elegant Halloween party ideas in this guide are designed for hosts who want a celebration that feels polished, welcoming, and just unsettling enough. You can lean romantic with wine-red flowers and black lace, make the evening mysterious with masks and candlelight, or strip the look back to moonlit neutrals and sculptural branches. None of those directions requires decorating every surface.
Start by choosing the mood you want guests to feel, then repeat a small set of visual cues through the entrance, table, bar, and photo area. The result will look intentional even when the budget and setup time are modest. For more seasonal hosting inspiration throughout the year, browse the Sparkleeo Holiday Parties collection.
Start With a Spooky-Chic Direction
Before buying candles, pumpkins, or tableware, decide what kind of Halloween atmosphere you are creating. A visual direction gives every later choice a filter: if an item does not support the palette, material story, or mood, leave it out. This prevents the most common styling mistake—combining every Halloween symbol in one room and hoping the color black will make it cohesive.
Choose one of the following directions as your foundation, or borrow elements from two while keeping the palette controlled. If you want to explore a broader concept before settling on the details, the Sparkleeo Party Themes hub is a useful starting point.
Vamp Romantic
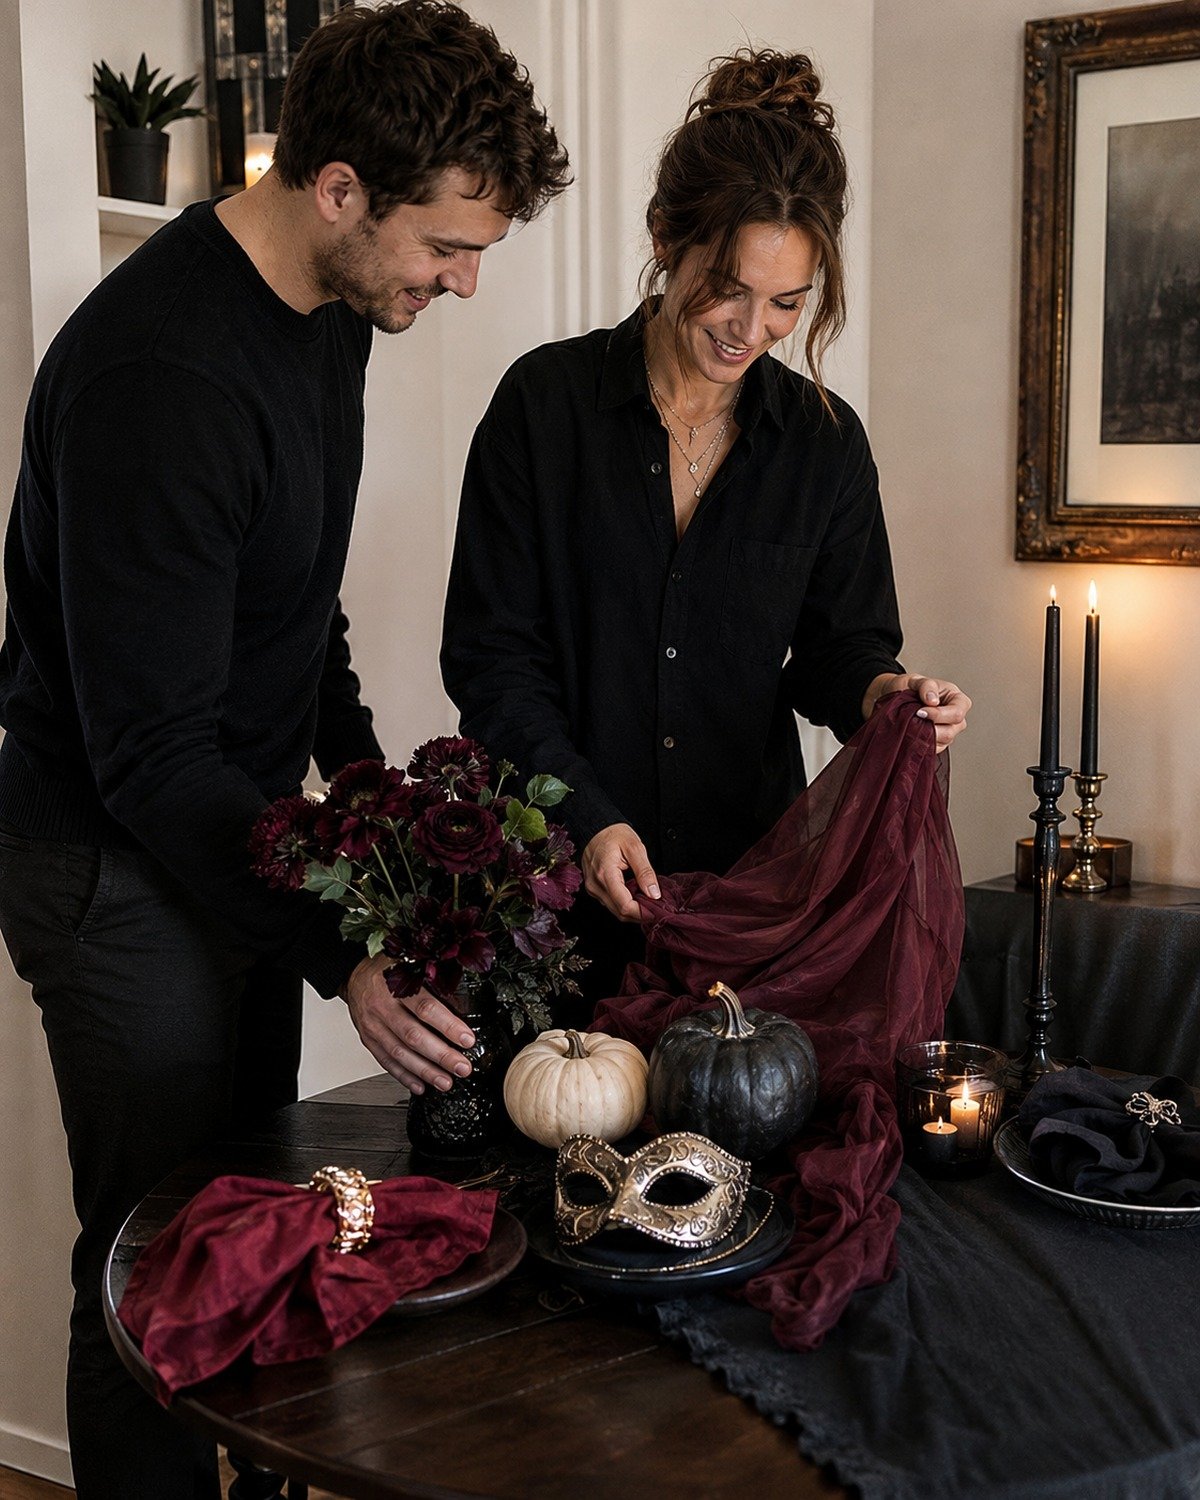
Vamp Romantic is rich, intimate, and slightly decadent. Build it around black, oxblood, merlot, and smoky plum, then warm those dark tones with aged brass or antique gold. Velvet ribbon, washed linen, lace, dark glass, and glossy fruit make the setting feel layered without requiring themed props.
For flowers, combine deep red garden roses, chocolate cosmos, burgundy dahlias, or realistic faux blooms with trailing greenery. A bowl of black grapes, figs, or pears can extend the palette onto the table. Taper candles at varied heights add movement, while cream-colored menus or place cards keep the overall scene from becoming visually heavy.
This direction works especially well for a seated dinner, an anniversary-weekend gathering, or cocktails with a small group. Keep fake blood and novelty vampire accessories out of the main room; one subtle fang-shaped detail on a dessert or favor is more effective than turning the table into a costume display.
Haunted Masquerade
A Haunted Masquerade feels formal, theatrical, and social. Its palette can combine ink black, warm ivory, muted gold, and one jewel tone such as emerald or aubergine. Think of the atmosphere of an old opera house or candlelit ballroom as visual inspiration rather than a trend to reproduce literally.
Masks provide the repeating motif, but they do not need to cover every surface. Place one sculptural mask beside the entry arrangement, use a simple mask illustration on the invitation, and offer a small selection for guests near the photo area. Draped fabric, ornate frames, tarnished mirrors, satin ribbon, and pools of low light will do most of the storytelling.
Choose this direction for a larger cocktail party or a gathering where guests enjoy dressing up. State the dress code clearly—“dark cocktail attire; masks welcome,” for example—so the concept feels inviting instead of demanding. Avoid buying dozens of inexpensive plastic masks; a few well-shaped pieces photographed in flattering light will create a stronger impression.
Moonlit Minimal Gothic
For a quieter interpretation, use charcoal, bone, mushroom, and soft gray with touches of pewter or pale champagne. Moonlit Minimal Gothic relies on shape and shadow rather than ornate decoration. Bare branches, matte ceramics, translucent glass, wrinkled linen, paper silhouettes, and a few white or gray pumpkins can create a haunting scene with very little visual noise.
This approach suits a modern apartment, an open-plan home, or a host who prefers contemporary interiors. Let negative space remain visible. A single branch arrangement on a console can be more compelling than a shelf filled with miniature skulls, bats, and signs. Keep the light cool near the entry if you want a moonlit effect, but use warmer light around food and faces so the party still feels comfortable.
Set the Mood Before Guests Arrive
The party begins with the invitation. Use it to communicate the tone, time, dress expectation, and level of formality. A digital invitation with a strong type treatment and one atmospheric image is enough; avoid burying practical information beneath a long fictional backstory. If masks, costumes, or a particular color palette are encouraged, say so plainly and give guests an easy alternative.
Next, plan the experience in layers. Guests should be able to see the route from the door, recognize where coats and bags belong, hear the music without shouting over it, and find a drink without waiting for the host. Test those basics before styling the room.
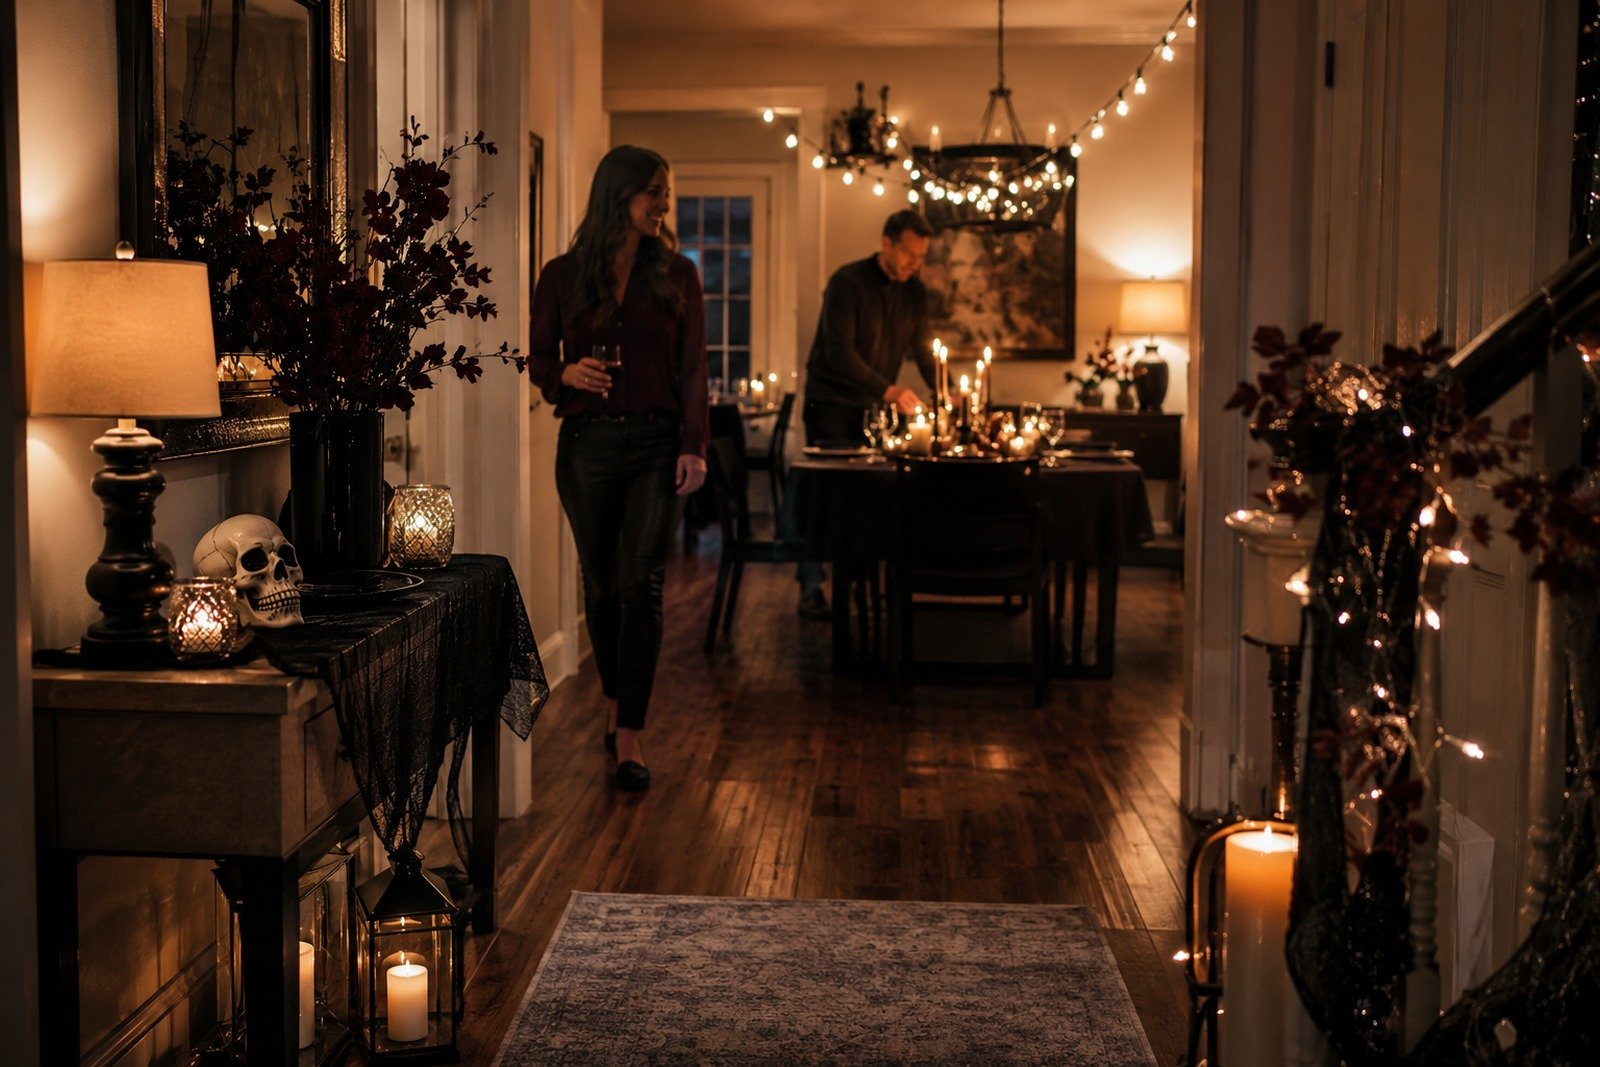
Lighting deserves the largest share of attention. Start with functional ambient light at its lowest comfortable level. Add pools of warm light at the entrance, serving area, table, and seating zone. Then place candles or convincing flameless candles where their glow will reflect in glass, metal, or mirrors. This hierarchy creates depth; scattering tiny lights evenly across the room tends to flatten it.
Build a playlist that starts restrained and becomes more rhythmic as the evening progresses. Instrumental film scores, dark jazz, moody soul, and contemporary tracks can coexist if the transitions feel intentional. Keep the volume low enough for conversation during the first hour.
Scent should remain nearly invisible. A subtle woody or resinous note near the entrance can reinforce the mood, but skip strong fragrance around food, drinks, or guests who may be sensitive. Never place open flames beside curtains, dry branches, crowded walkways, or costumes. Use LED candles in those areas and reserve real candles, if any, for stable surfaces with generous clearance.
Create a Dramatic Entrance
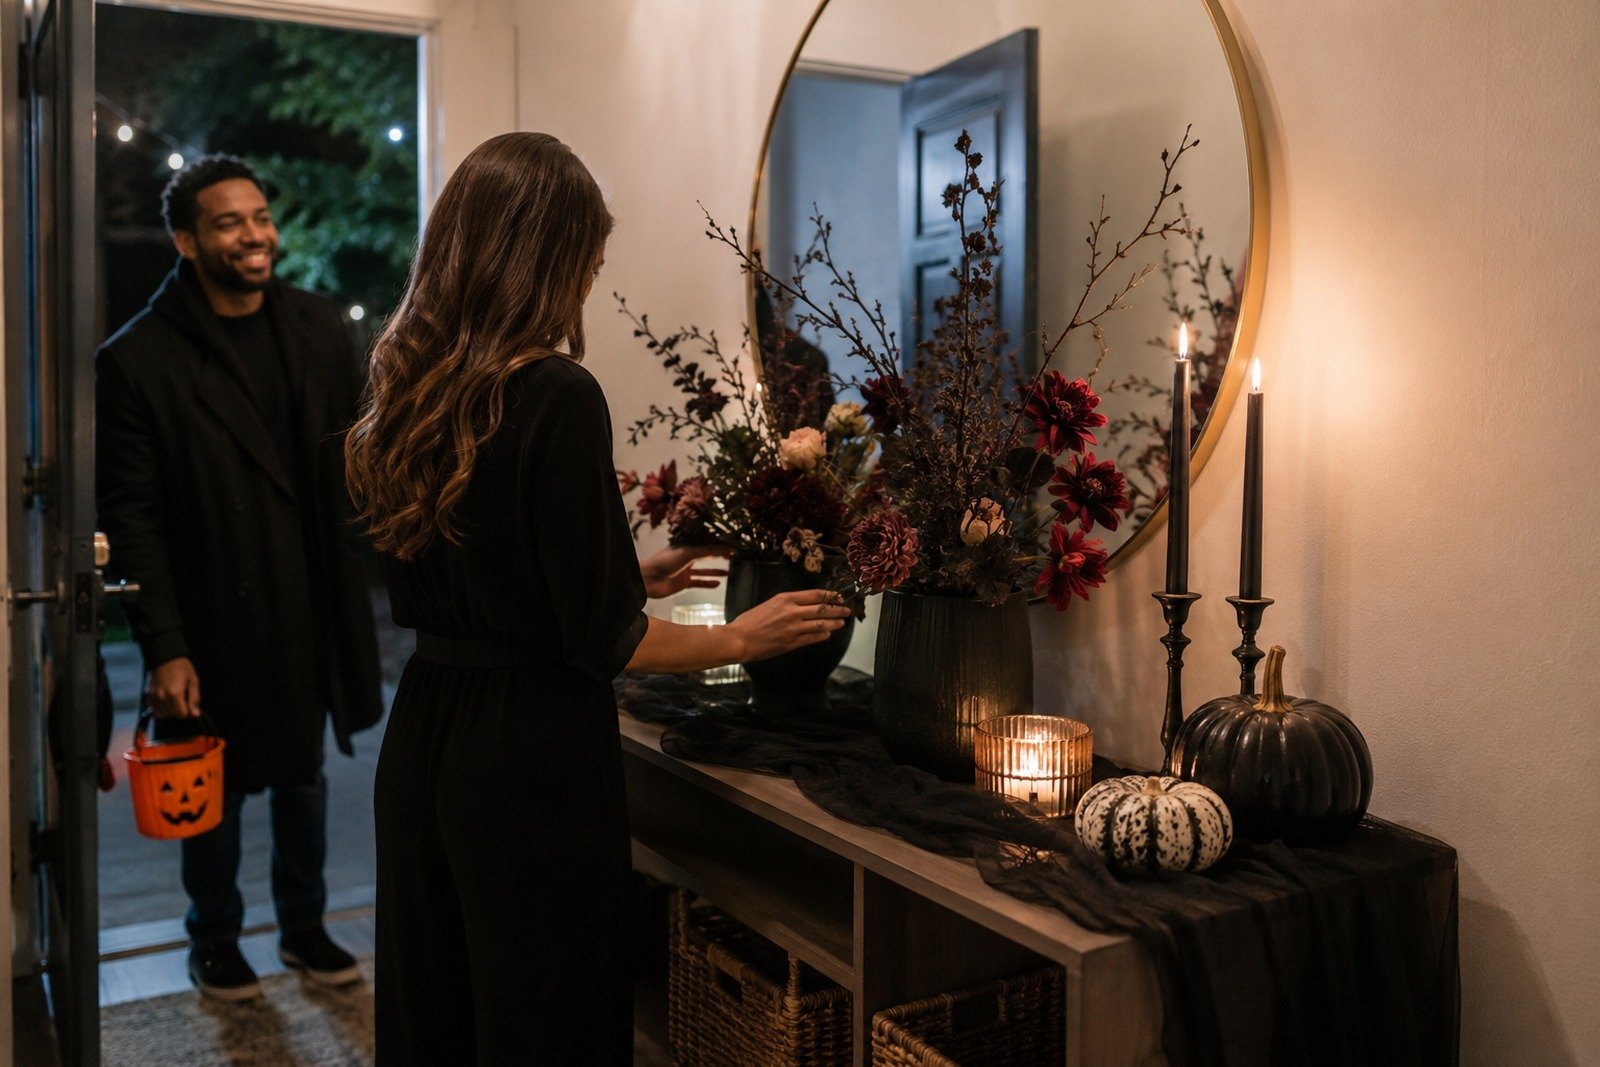
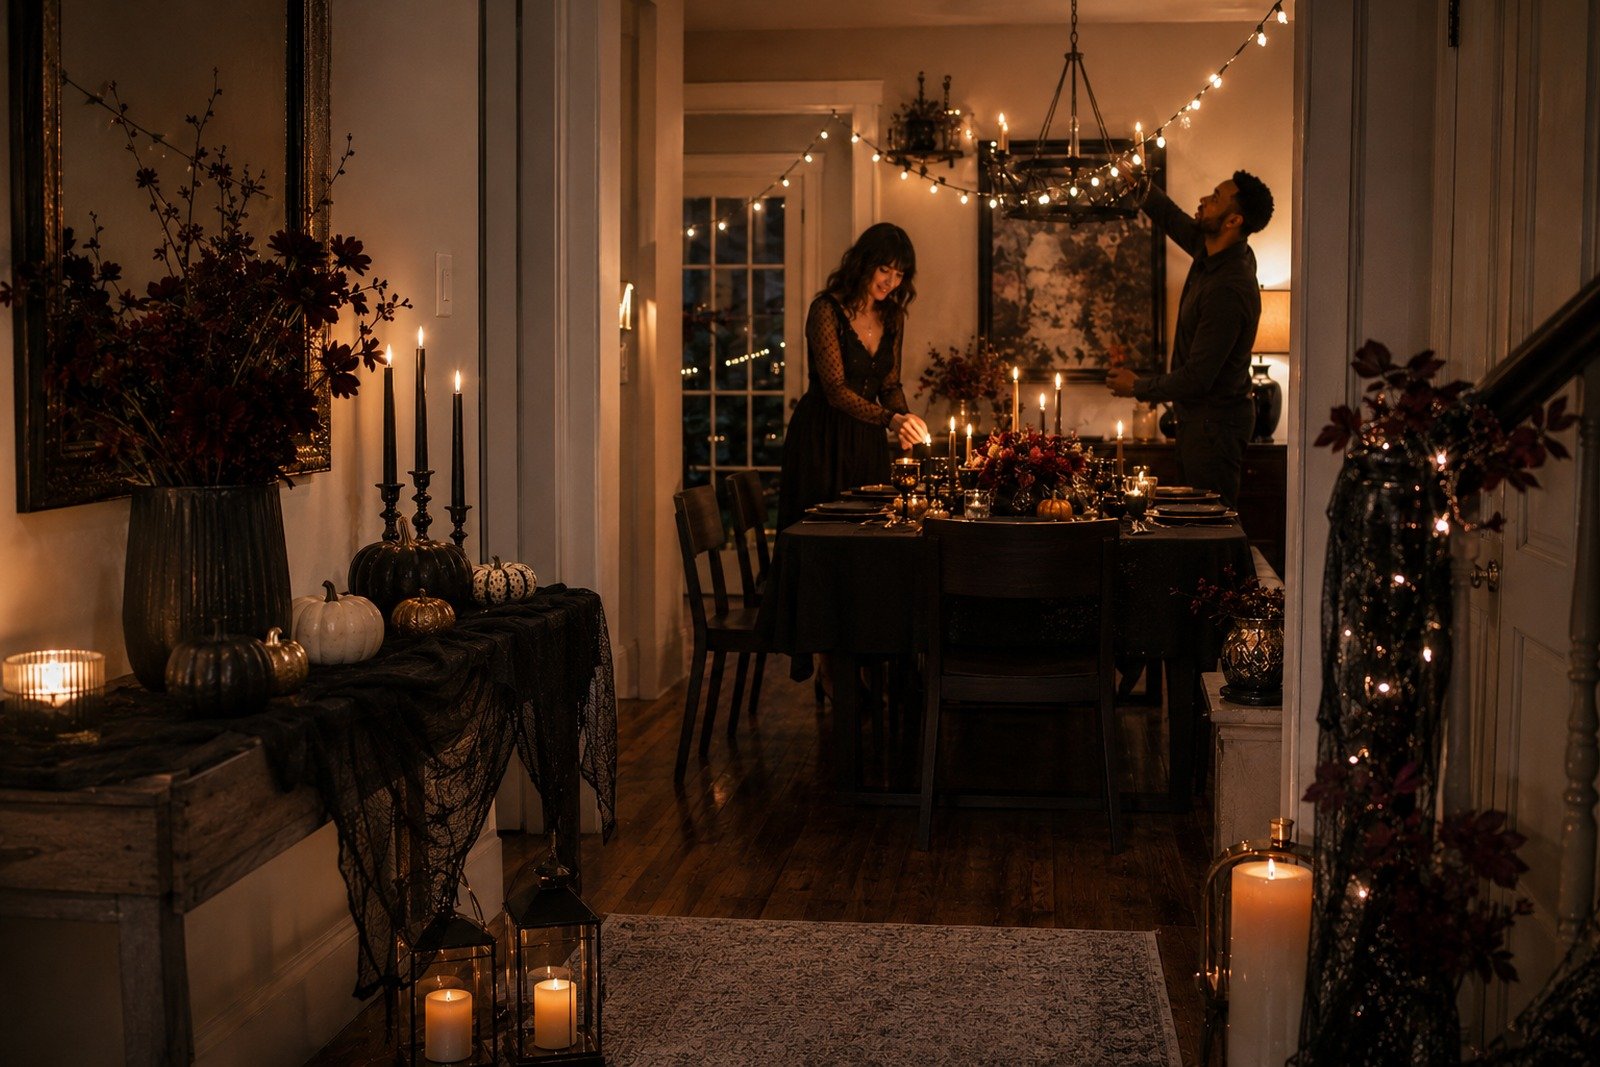
Choose one surface near the door—a console, small table, mantel, or wall niche—and treat it as the opening scene. Begin with height: a tall branch arrangement, a drape that falls from a frame, or a large mirror creates a clear silhouette. Add a middle layer such as dark flowers, stacked books, or a sculptural bowl, then finish with low candlelight.
Black gauze can look refined when it is folded generously and allowed to pool in one controlled place. Stretched thin across every wall, it usually reads as inexpensive party-store material. The same rule applies to faux cobwebs: if you use them, keep them to one shadowed frame or branch rather than pulling them through the entire room.
Mirrors and empty antique-style frames multiply candlelight and give guests an immediate visual cue. A small card can direct them toward coats, drinks, or the main room, eliminating the awkward moment when everyone stops at the door to ask what to do next.
The practical decision is simple: spend your entrance budget on scale, not quantity. One arrangement that can be seen from several feet away will establish the theme more effectively than decorating every hallway. Before guests arrive, step outside, enter as they will, and remove anything that blocks the path or disappears in the dim light.
Style an Elegant Halloween Table
The table is where an elegant Halloween concept can become most detailed, but it still needs to function. Guests require room for plates, glasses, serving pieces, and comfortable conversation. Measure the usable area before planning the centerpiece, and sit in each chair once the table is set to check sightlines.
Layer the Foundation
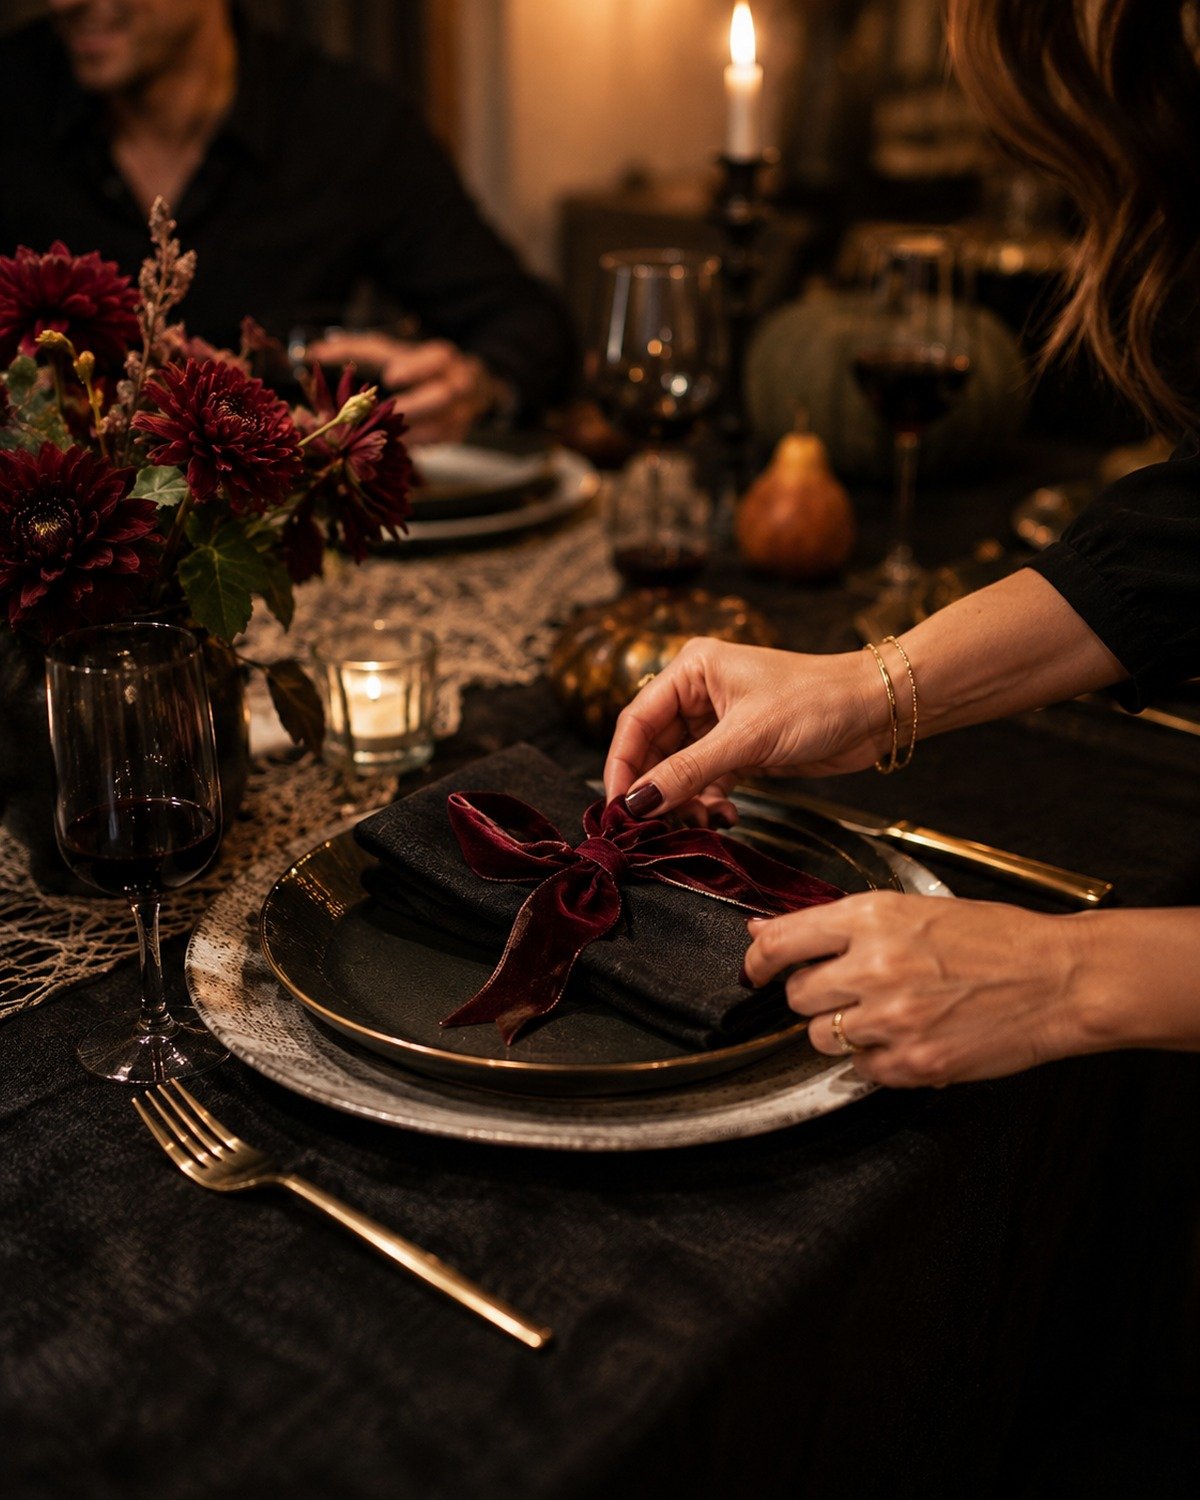
Begin with one strong base: a washed black tablecloth, charcoal linen, warm ivory cloth, or bare wood with a textured runner. Add contrast through texture rather than introducing more colors. A velvet ribbon against linen, glossy black plate against a matte charger, or delicate lace beside substantial glassware creates depth.
If you do not own dark dinnerware, use neutral plates and bring the Halloween palette into napkins, candles, flowers, or menus. Renting, borrowing, or working with what you already have is often more elegant than buying a complete set of disposable themed plates. Keep the cloth clear of chair legs and walking paths, particularly in low light.
Build a Low, Dramatic Centerpiece
A low arrangement allows guests to see one another and makes serving easier. Start with a loose line of dark foliage or clustered vessels rather than one oversized bouquet. Add flowers in two or three shades from your palette, then tuck in miniature pumpkins, pears, figs, or seed pods for seasonal shape.
Vary candle heights, but keep the tallest flames below eye level or place them between seats. Odd-numbered groupings tend to feel natural. If the table is narrow, replace multiple objects with a few slim bud vases and tapers. Test stability by gently bumping the table; anything that tips easily should move to a sideboard.
Avoid mixing too many recognizable motifs. Pumpkins plus bats plus skulls plus spiders can turn a sophisticated centerpiece into a catalog of Halloween icons. Select one seasonal motif and let flowers, fruit, fabric, and light carry the rest.
Finish Each Place Setting
Fold or loosely knot the napkin, tie it with velvet or silk ribbon, and add a handwritten place card. A single black leaf, tiny charm, wax-sealed name card, or small piece of dark chocolate can provide a personal finish. Keep anything that touches food clean and food-safe, and avoid loose glitter or shedding craft materials.
Menu cards are useful when the meal includes several courses, dietary choices, or a signature drink. Use the same type style and paper color as the invitation so the visual identity continues without adding another motif. For more ways to coordinate the table, backdrop, balloons, and finishing details with a larger theme, explore Sparkleeo Decorations.
Build a Grown-Up Food and Drink Moment
Plan the menu around how you want to participate in the party. If you would rather mingle than cook through the evening, choose food that can be prepared ahead, served at room temperature, or finished in one quick batch. A beautiful self-serve station is not a compromise; it gives guests an easy reason to move through the room and frees the host to welcome people.
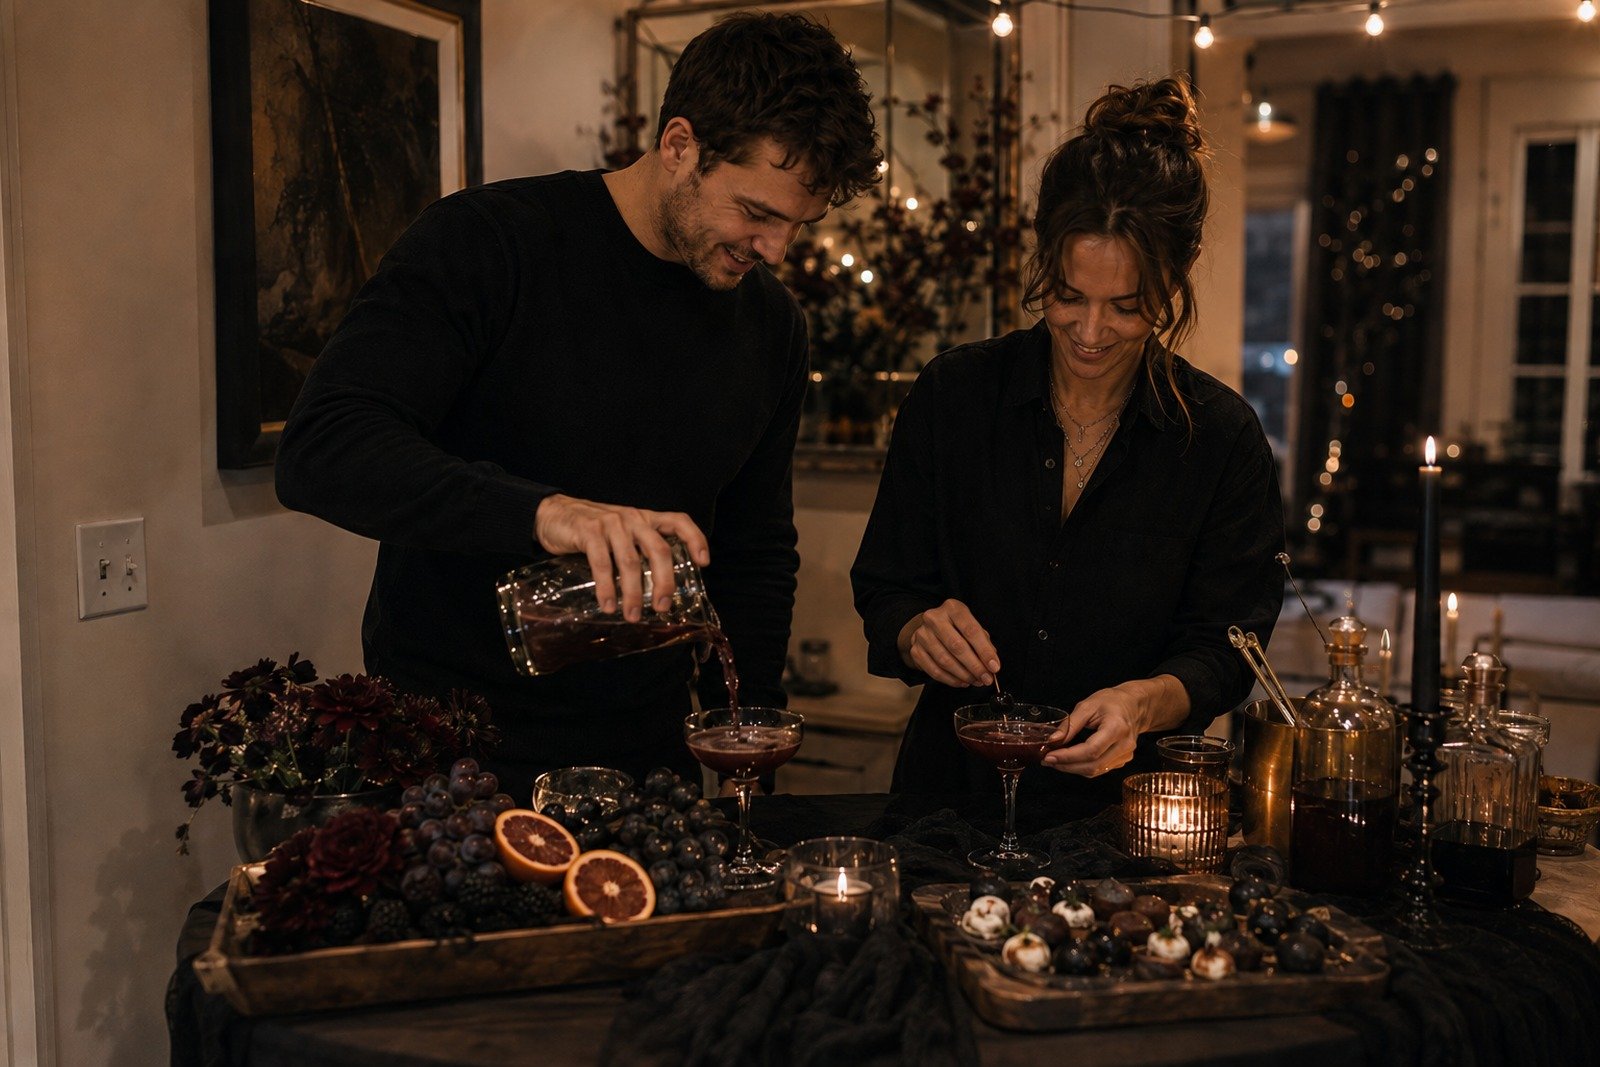
Offer one signature cocktail with a flavor profile that suits the mood—perhaps blackberry and rosemary, apple and warming spice, or a bitter citrus drink with a dark garnish. Give the nonalcoholic option equal attention. Serve a sparkling pomegranate drink, spiced pear soda, or herb-and-citrus tonic in the same glassware with a clearly different garnish. Label both so guests do not need to ask.
For food, build a generous board or buffet around contrasting color and texture: cheese, dark grapes, figs, olives, roasted nuts, seeded crackers, and small savory bites. Add one warm item that can be replenished easily rather than attempting a complicated menu. Keep portions bite-sized for a standing party, and provide real plates and napkins large enough to use comfortably.
A compact dessert station can become a visual moment without an elaborate cake. Arrange chocolate tart slices, spice cookies, poached pears, or small dark-frosted cakes at different heights. Repeat only one decorative cue from the main table, such as a ribbon color or metallic tray, so the stations relate without matching exactly.
The common mistake is prioritizing dramatic appearance over usability. Avoid dry garnishes that fall into drinks, smoky effects that require constant monitoring, and food placed where decorative candles make it warm. Put water in an obvious location, keep allergens labeled, set out serving utensils, and leave open space for guests to put down a glass.
Add One Strong Photo Moment
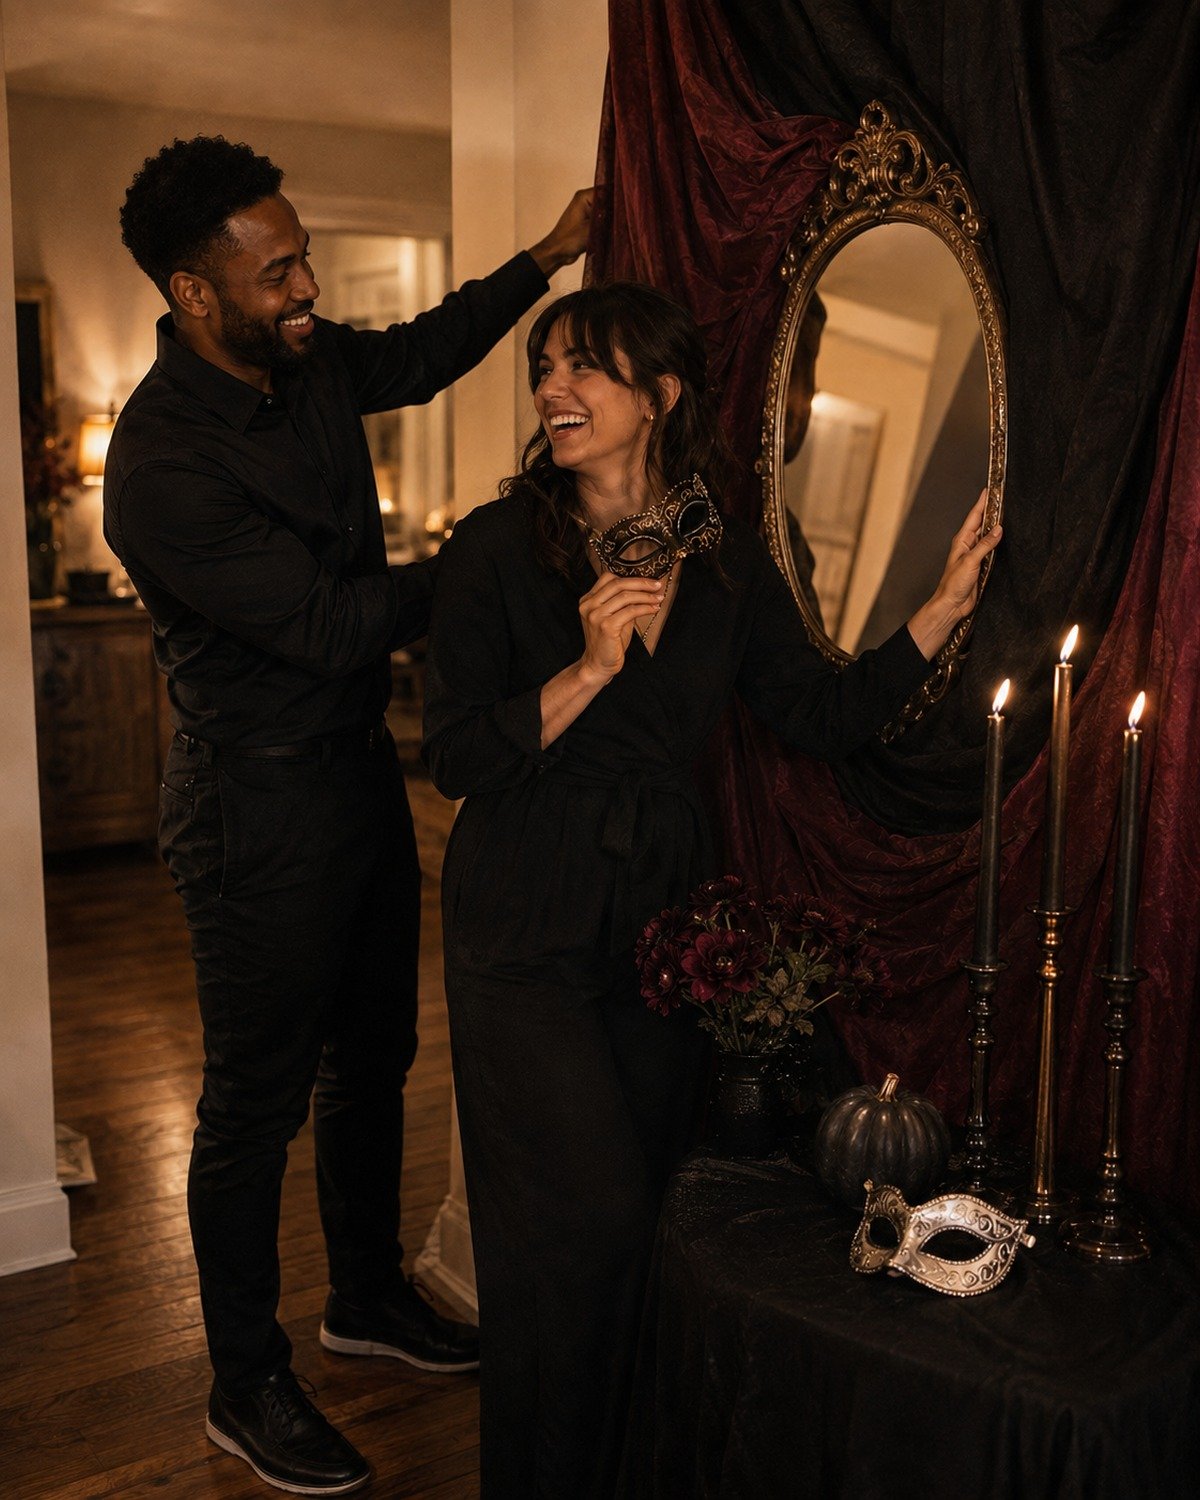
A photo area works best when it feels like part of the party rather than a branded booth. Choose a wall with enough space for two or three people to stand comfortably. Hang generous drapery, position an antique-style frame or mirror off center, and add one recognizable element from your theme: masks for a masquerade, dark florals for a romantic setting, or a branch silhouette for a minimal gothic look.
Light faces from the side and slightly in front. A lamp with a warm bulb, diffused LED panel, or carefully positioned floor light is more flattering than bright ceiling light. Candlelight can appear within the composition, but use flameless candles close to fabric, costumes, and guest traffic.
Keep props restrained. A small tray of two or three masks, one dramatic fan, or a vintage-style candlestick gives guests something to interact with; a bin of unrelated plastic props creates visual clutter and slows the flow. Take a test photo at the time of day the party will occur. Remove distracting outlets, cords, and household objects from the frame before adding more decoration.
One well-lit scene will produce stronger, more shareable photographs than several unfinished corners. It also concentrates setup time where guests are most likely to remember it.
Choose Activities That Still Feel Grown-Up
An adult Halloween party does not need a packed schedule. Select one main activity that matches the group, then offer one optional area for guests who prefer to talk or join later.
For a style-focused evening, invite guests to interpret a broad costume direction and keep any recognition informal—“best use of the palette” feels more aligned than a long contest with multiple prizes. A murder mystery can work for a group that enjoys participation, but send roles and expectations early and avoid forcing reluctant guests into central characters.
A vintage horror screening suits a relaxed gathering when the film is genuinely part of the plan. Create a comfortable viewing area and place snacks within reach, rather than running a movie silently in the background where it competes with conversation. An atmospheric tasting—chocolate, seasonal cheese, apples, or zero-proof drinks—offers a shorter, more flexible option.
Whatever you choose, preserve a conversation corner away from speakers and activity traffic. The mistake to avoid is scheduling every hour. Guests need time to arrive, look around, eat, and talk; the setting already provides entertainment.
Finish With Memorable Details
Small details feel meaningful when they repeat something guests have already seen. Carry one motif from the invitation into the menu, place cards, and a simple sign. It might be a crescent moon, a narrow velvet ribbon, a botanical silhouette, or an antique key. Repetition creates identity; introducing a new graphic for every item creates noise.
Handwritten place cards make a seated dinner feel personal. For a cocktail party, use neat labels for the bar and buffet, especially when dietary information matters. Keep the wording direct and legible in dim light. Highly decorative script may suit a heading, but practical instructions should use a clear typeface.
If you want guests to take something home, choose a favor that is edible or useful: a wrapped chocolate, a small spice blend, a tea sachet, or cookies packaged in glassine. Add the party date or a brief thank-you rather than covering the package with branding. Set favors near the exit so guests do not need to carry them all evening.
Before adding any final object, ask whether it improves the experience, reinforces the theme, or solves a practical problem. If it does none of those things, remove it. Editing is often the last step that makes the room feel finished.
A Simple Halloween Party Timeline
2–3 Weeks Before
- Choose the visual direction, palette, guest list, format, and approximate budget.
- Send invitations with clear timing and dress expectations.
- Decide on one main activity and confirm any supplies or advance roles.
- Inventory linens, glassware, serving pieces, lights, and safe candle holders before buying decor.
1 Week Before
- Finalize the menu, signature drink, and equally considered nonalcoholic option.
- Purchase shelf-stable ingredients, candles or LEDs, paper goods, and styling materials.
- Test the playlist and make a simple room plan for entrance, coats, drinks, food, seating, and photos.
- Confirm dietary needs and guest count.
2 Days Before
- Shop for fresh ingredients, flowers, fruit, and ice.
- Prepare sauces, desserts, garnishes, or other make-ahead menu components.
- Set up the photo backdrop and entrance arrangement without blocking daily use or exits.
- Clean and stage serving pieces so each item already has a purpose.
Party Day
- Set the table or buffet, leaving covered food and delicate garnishes until later.
- Arrange flowers, chill drinks, prepare ice, and finish make-ahead dishes.
- Check bathroom supplies, coat storage, waste bins, and the path from the front door.
- Test lighting after sunset and secure every cable, candle, tall arrangement, and piece of drapery.
30 Minutes Before Guests Arrive
- Light safe candles or switch on LEDs, start the opening playlist, and dim ambient lights.
- Put out the first drinks and foods that hold well; keep temperature-sensitive items chilled.
- Take one test photo, wipe the bar and mirrors, and remove packaging or setup tools.
- Pour yourself water, review the first hour, and stop decorating.
The final point matters: last-minute overstyling often introduces clutter and keeps the host from greeting guests calmly.
Adapt the Look to Your Space and Budget
In a small apartment, concentrate the theme along the route guests will actually use. Style the entry, one food or drink surface, and the main seating area. Choose wall-mounted or vertical details—a tall branch, draped frame, or narrow backdrop—rather than filling the floor with props. Use lidded bins or a cleared bedroom for coats and everyday objects, and keep every exit unobstructed.
For a seated dinner, direct most of the budget toward the table and its surrounding light. Guests will spend more time there than anywhere else. Reuse the entry flowers on a sideboard after everyone arrives, or move one decorative vessel to the dessert station to extend the look without buying duplicates.
For a cocktail gathering, prioritize flow. Create distinct zones for arrival, drinks, food, conversation, and photos, even if each zone is only a few feet wide. Avoid placing the bar in a dead end or the photo scene in the path to the bathroom. Add small surfaces where guests can set down glasses.
Across every format, the best spending order is lighting first, one focal scene second, and the table or serving area third. Save by skipping decorations for rooms guests will not use, large quantities of disposable themed goods, and novelty pieces that cannot support another occasion. Neutral linens, glass cylinders, metal trays, ribbons, frames, and candle holders can be recombined for future celebrations.
Do not confuse abundance with atmosphere. A limited budget can produce an elegant result when color, light, and texture repeat consistently. A larger budget can still look disjointed when every purchase introduces a new idea.
Conclusion
An elegant Halloween party is less about collecting decorations and more about directing attention. Choose a visual world, build a thoughtful lighting hierarchy, and concentrate your effort on the entrance, table or serving area, and one memorable photo scene. When the palette and materials repeat, even simple flowers, fruit, fabric, and candles begin to feel intentional.
Plan food that lets you stay with your guests, offer one activity rather than a crowded schedule, and stop styling before the room becomes cluttered. Those decisions create a celebration that feels grown-up without losing Halloween’s sense of mystery.
For more seasonal ideas, continue through Sparkleeo’s Holiday Parties hub. You can also explore Party Themes for a distinct creative direction or visit Decorations for ways to carry a concept through the table, backdrop, and finishing details.